
This is a pattern from the Spring issue of Fly Tyer Magazine. This is conceived by Jay "Fishy" Fullum. He has written several books including "Fly Tying with Common Household Materials" - http://www.theanglingbookstore.com/flytyingwithcommonhouseholdmaterials.aspx . I used to have Fishy's Flies which has simple and easy to understand illustrations and instructions. I tied the crawfish pattern and tore up the panfish with it. So, in the spirit of Jay's tying, we will use something other than traditional tying materials - well, it's foam anyways. The yellow striped bug was tied by @pixrob on Instagram.

The materials call for 3 cylinders of Rainy's Float Foam. Of which, I only had very large cylinders. And of course, I justs had to tie this pattern when @pixrob posted it. I drove to Barnes & Nobles and found that it hadn't come in yet. I had my friend send me the tying instructions and proceeded to improvise the pattern.

I am using a thicker foam from Hobby Lobby. You can find some foam materials at Walmart that are thicker than 2 or 3mm foam. It's a cross. I do use my foam cutter or just use my scissors to make a meatier body. I am using Tiemco 8089 size 10 and may even use size 6.

It took me 5 attempts to get this pattern down. Cut your foam to extend over the bend and up to the eye.

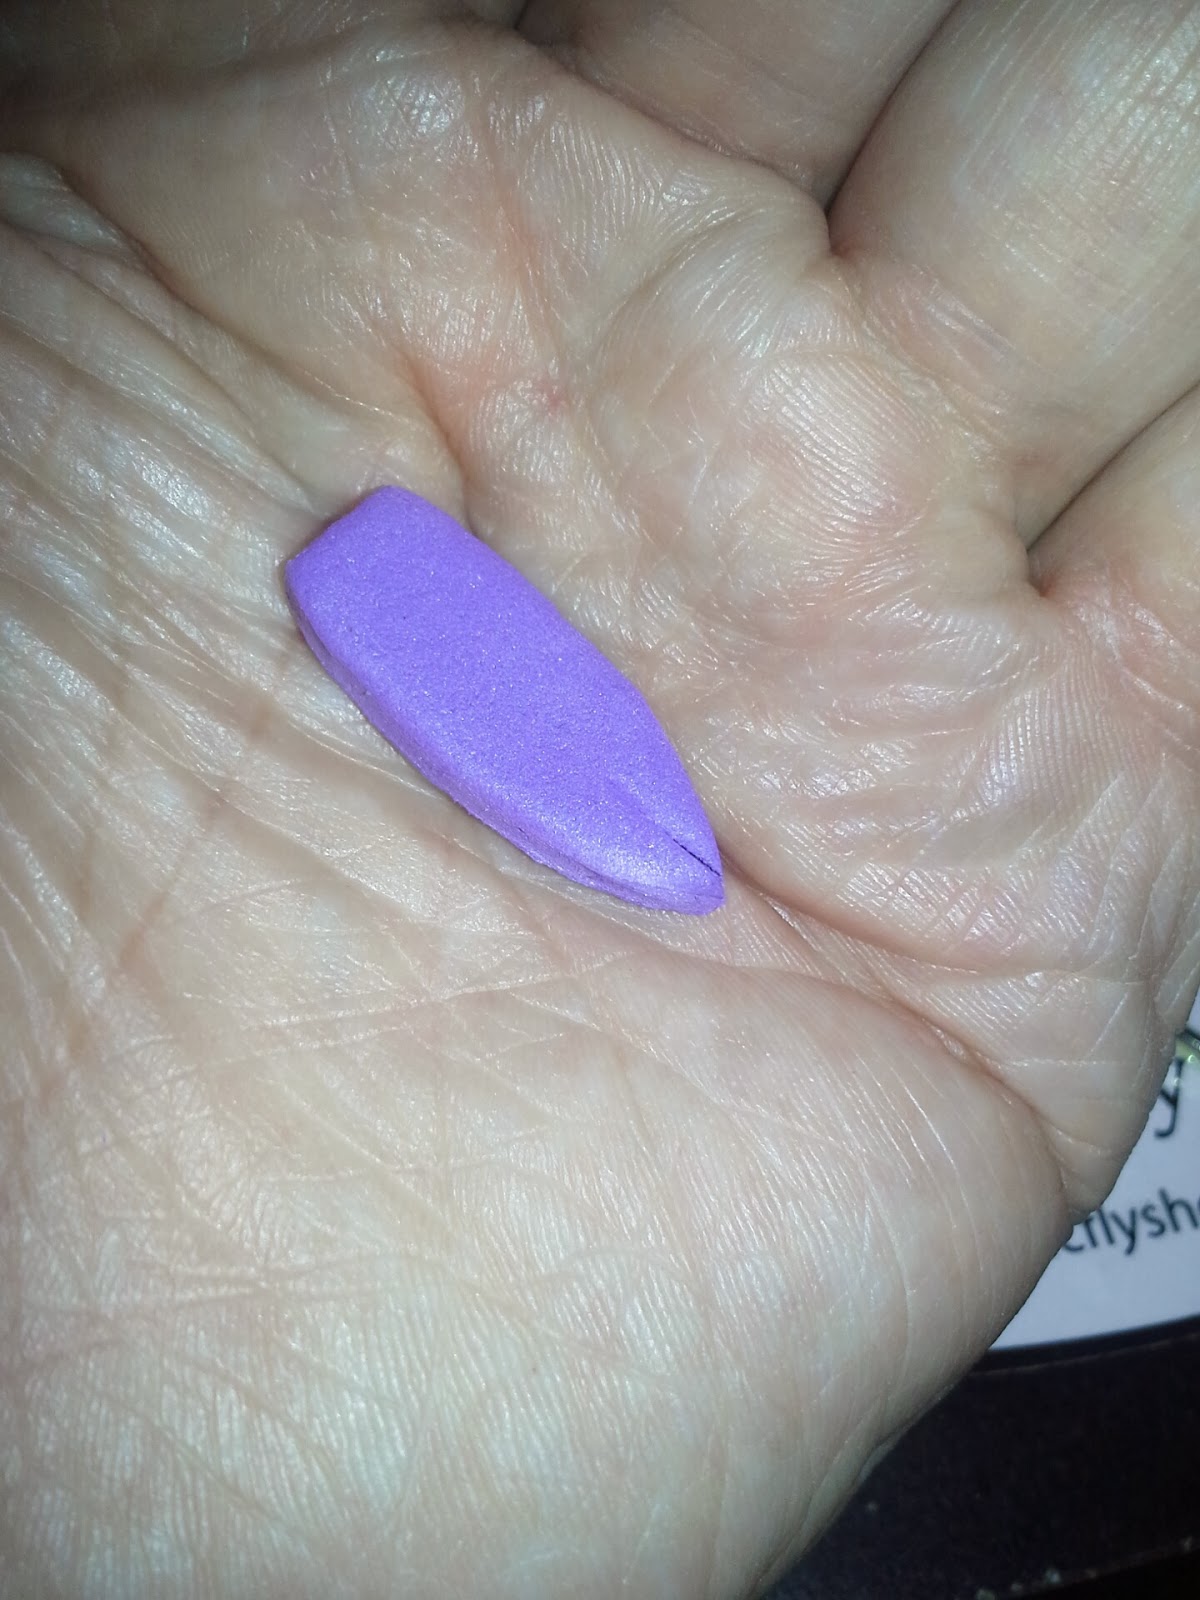
Make a slit about 3 or 4 mm long.


Slide the foam strip through the slit and tie in the body so that the black stripe is pulled through ahead of the tie-in point. You may consider exentedin the tail a tiny bit more than I did here. You'll create body segments at shown. Other than when tying in the tail end, don't try to make tight wraps. The hook shank will be resting inside the foam. I always make 6 wraps of foam on each segment.

Make several half-hitches on the top segment and add eyes. I spread Zap-a-Gap on the sides and top of the body and add the eyes. You do not have to put glue on the body but I like how it makes the finished product look. The fly will become harder though. I want the stripe to stay in place and the eyes to have a good base. If you need to apply glue into the bottom gap. I don't though - not on this pattern though.


I even use door hangers which can be found at Walmart for $1.

I am very excited to find a new foam pattern that looks great and seems that will be very effective for bass and panfish - more specifically, smallmouth bass! Let me know if you have any comments and remember - the credit goes to Jay "Fishy" Fullum.
I dig it... and I think the bass will too. Like you, I get craft foam in whatever form I can get it. That door hanger looks good.
ReplyDeleteThanks a lot. I'm going to be using it a lot. I do have a LL Bean book for bidding on ebay.
DeleteThat's a really cool pattern. Looks like bass would love it.
ReplyDelete